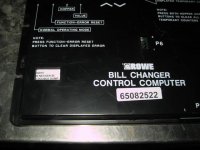
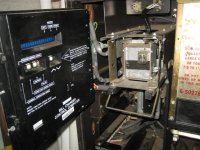
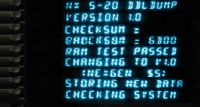
Do you own a Rowe changer? Have you updated to the new $5 bill yet? If you haven’t then you are as bad as I am. But, I got a couple NEXGEN $5 bill upgrades from Rowe International. It came with some instructions and was pretty easy. The hardest part was staying in the equipment room since it is really hot here in Alabama.
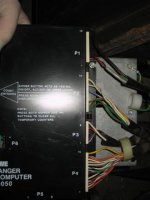
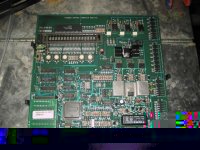
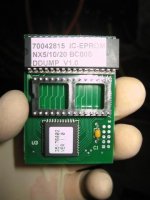
1) Remove all the chips and the 3 stickers from the bag. 2) Turn the machine off then on again if it says “FAST PAY” then you need to find another HowTo somewhere else, this is only for the “DOUBLE DUMP”. 3) Turn the power off then remove the CCC from the machine. 4) Get the board out of the plastic housing. (The third picture red arrow shows what you will be removing.)
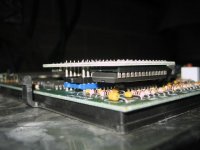
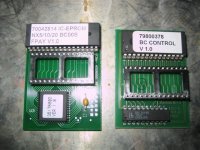
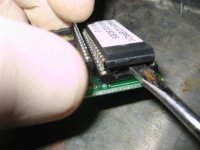
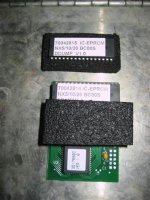
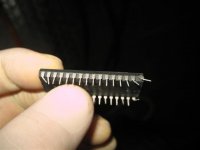
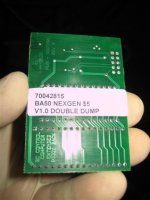
The (yellow arrow) shows the black piece that will be removed from the (red arrow) blue piece. The second picture shows the new board on the left and the old board on the right. 5) (Last picture) Gently remove the Eprom chip for “FAST PAY”. I used a screwdriver and was very careful but……
I kind of messed up the FP chip. 6) Now you need to install the “DDUMP V1.0” eprom. This is actually the hardest part and I actually was careful with the pins being lined up correctly. 7) Next flip over the board and install the “DOUBLE DUMP” sticker.
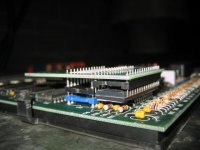
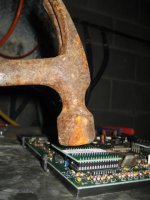
8 ) Now line up the piggy back board with the main ccc board like shown. Skip step nine! 9) Next get a hammer and tap the small board into the ccc board use some force so it will be a snug fit. 10) Put the plastic housing back on and Install the “65082522” sticker and you can see the DD sticker on the left side.
11) Turn the unit on and watch all the updating on the ccc. Then you should get the Night Rider Kit Car lights (the okay light). 12) Test and enjoy! Everything worked great and it was actually very easy to do just skip step 9 unless you want to just purchase a new ccc.
